Windows updates are essential for keeping your operating system secure and up to date with the latest features and improvements. However, sometimes you may encounter errors during the update process. One such error is 0x80246017, which can prevent you from installing Windows updates. If you’re facing this issue, don’t worry! In this article, we’ll explore several solutions to help you fix Windows 10/11 update error 0x80246017.
Solution 1: Fix using Advanced PC Repair Tool
If your PC is facing the Update related issues, driver problems, application crashes, etc, then there is an optimization issue with this PC. Use the Outbye PC Repair tool to correct the Windows OS problems.
dll files, exe files, sys files, various types of services, databases, etc so, it is not possible to keep monitoring all the files always. A brilliant PC Optimizer tool repairs damages, fix errors, update windows and drivers, and eliminate various types of errors silently. Outbyte PC Repair Tool does all the above task easily and provides you an errorfree and smooth Windows environment to work so that you can focus on your business only.
Step 2. SCAN your Windows PC
Step 3. Click Fix button to Repair Error
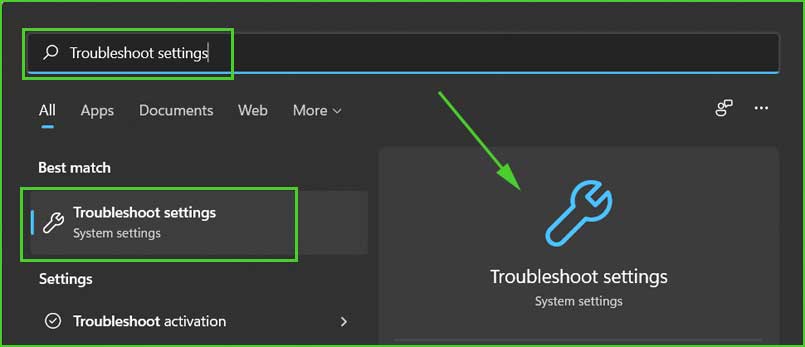
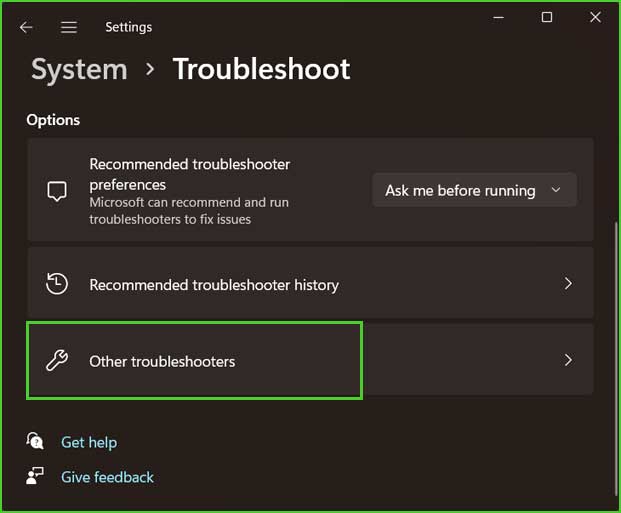
Solution 2: Run the Windows Update Troubleshooter
Windows provides a built-in troubleshooter that can detect and fix common Windows Update issues. Here’s how to use it:
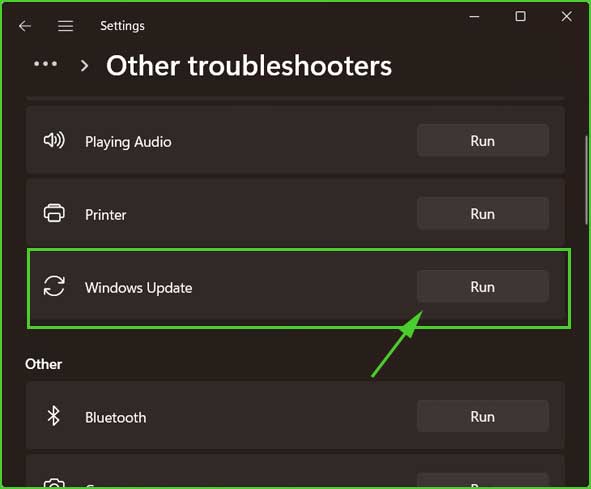
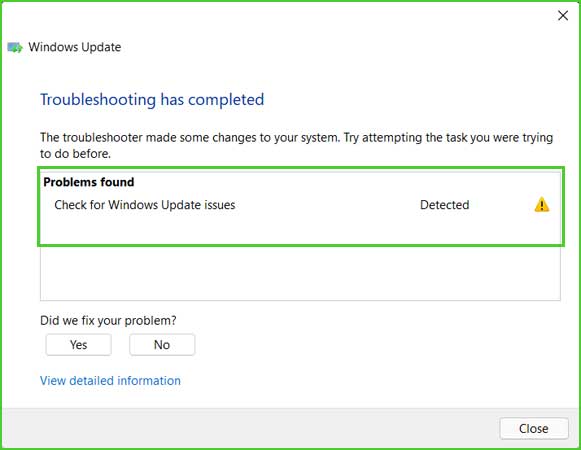
Allow the troubleshooter to scan for issues and apply the recommended fixes. Once the troubleshooter completes its process, restart your computer, and try updating Windows again.
Solution 3: Restart Windows Update Services
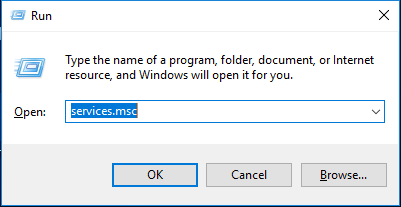
Sometimes, restarting the Windows Update services can resolve update-related errors. Here’s how to do it:
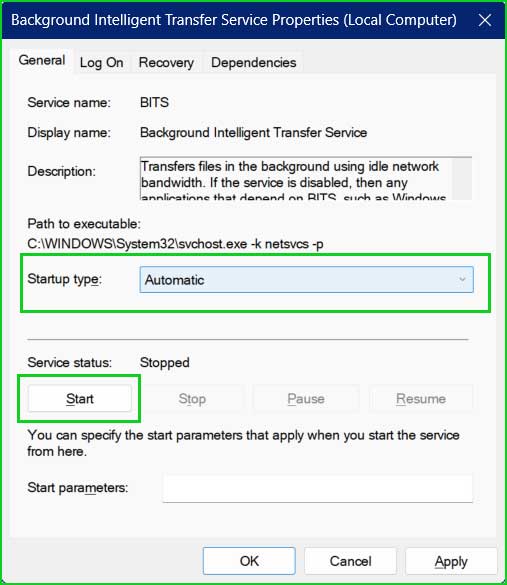
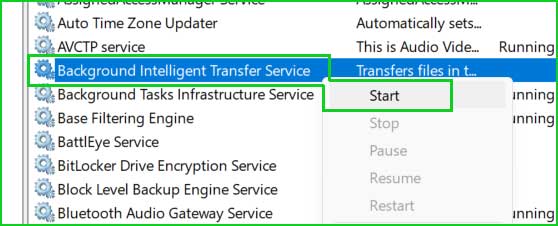
Background Intelligent Transfer Service (BITS), Cryptographic Services, and Windows Update.Right-click on each service, select Properties, and ensure that their Startup Type is set to Automatic.
Solution 4: Clear the Windows Update Cache
Corrupted files in the Windows Update cache can cause update errors. Clearing the cache might resolve the issue. Follow these steps:
net stop wuauserv

net stop cryptSvc

net stop bits

net stop msiserver

ren C:\Windows\SoftwareDistribution SoftwareDistribution.old

ren C:\Windows\System32\catroot2 catroot2.old

net start wuauserv

net start cryptSvc

net start bits

net start msiserverAfter the restart, try updating Windows again.
Solution 5: Reset Windows Update Components
If the previous solutions didn’t work, resetting the Windows Update components might help. Here’s how to do it:
net stop wuauserv

net stop cryptSvc

net stop bits

net stop msiserver

ren C:\Windows\SoftwareDistribution SoftwareDistribution.old

ren C:\Windows\System32\catroot2 catroot2.old

net start wuauserv

net start cryptSvc

net start bits

net start msiserverAfter the restart, try updating Windows again.
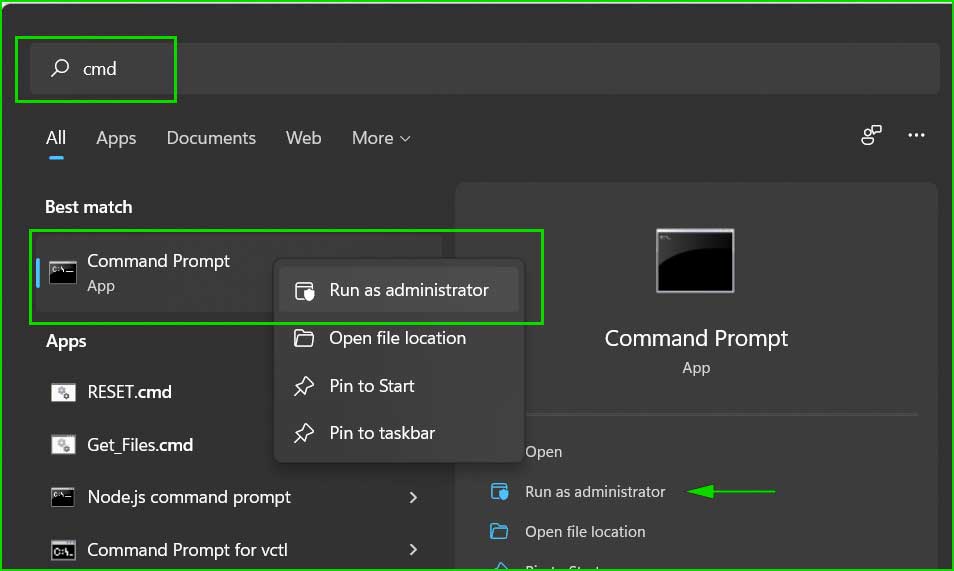
Solution 6: Use the DISM Tool
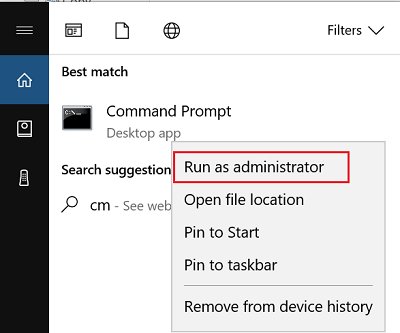
If the error persists, you can use the DISM (Deployment Image Servicing and Management) tool to repair the Windows system image. Follow these steps:
Type the following command and press Enter:
DISM /Online /Cleanup-Image /RestoreHealthIf none of these solutions resolve the error 0x80246017, it may be helpful to seek assistance from Microsoft Support or visit the Microsoft Community forums for further guidance.
Remember to always keep your system updated to ensure optimal performance, security, and access to new features.
Summary
In conclusion, encountering Windows update error 0x80246017 can be frustrating, but with the solutions provided in this article, you can overcome the issue and resume updating your Windows 10 or 11 operating system. Remember to follow these steps in the given order and restart your computer whenever required.