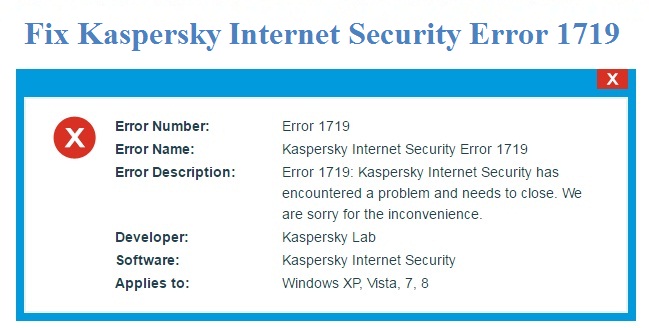
Are you getting Windows Installation Error 1719, when installing any software in Windows OS. You may get Windows Installer service could not be accessed Error when trying to add or remove program in Windows XP/Vista/7/8/10 and Windows Server 2003. This is an installation error which appears when installation is in progress. It kills the current installation and stops you from installing further software. Here, in this article, I am going to explain 3 ways, by which you can easily remove this error from your PC.
The Windows Installer Service could not be accessed. This can occur if you are running Windows in safe mode, or if the Windows Installer is not correctly installed. Contact your support personnel for assistance.
Cause
There are several reasons that may cause this error.
- Windows Installer File is damaged.
- Dependent Windows Files are missing, damaged, corrupted or replaced by other software.
- Your system is not giving appropriate permission to the software
- Antivirus or Defender program might block.
- Might be you are trying to install malicious software.
Method 1: Fix Using Advanced System Repair Tool
The most of the common reason behind program install failed is corrupted or damaged system files like DLL files, EXE files, sys files etc. There are thousands of tiny system files are there that work specific task. If one of the files gets replaced, deleted or damaged then you may get windows installer error 1719.
dll files, exe files, sys files, various types of services, databases, etc so, it is not possible to keep monitoring all the files always. A brilliant PC Optimizer tool repairs damages, fix errors, update windows and drivers, and eliminate various types of errors silently. Outbyte PC Repair Tool does all the above task easily and provides you an errorfree and smooth Windows environment to work so that you can focus on your business only.
Step 2. SCAN your Windows PC
Step 3. Click Fix button to Repair Error
Download and Install Advanced System Repair Tool and scan your PC. It has the large database with 25 million of files. It will find all the damaged or deleted system files and reinstall them with the fresh one. After, optimizing with Advanced System Repair Tool, try to install software again.
Method 2: Re-Register the Windows Installer
Re-registering the Windows Installer might fix this error completely but this method combines great risk. This method tells you to made some modifications in the registry file and this is very risky job. If you are not comfortable and have not a great knowledge of editing registry file, then skip this method and user Advanced System Repair Tool. Advanced System Repair Tool automatically finds all the bugs and problems in your PC and Fix all the Windows Installer Errors in minute including Error 1719.
Step 1: Find the location of Msiexec.exe file. Open Run command by pressing Windows Key + R simultaneously and paste following command and hit Enter. It will open the folder where Msiexec.exe file exist. Copy the location of the file.
If the location is C:\Windows\system32\, then complete location of Msiexec.exe file would be: C:\Windows\system32\Msiexec.exe
Step 2: Edit Registry File. Be very careful while editing registry file because incorrect editing might down your PC permanently. It is advisable to make a backup of your registry file before doing any modification in registry file. Here, is the detailed guide to Backup and Restore Registry File.
1. Open Registry Editor. To open it, type regedit in run command and press ok.
2. Go to following location: HKEY_LOCAL_MACHINE SYSTEM CurrentControlSet Services and then click MSIServer.
3. In the right pane, right click on ImagePath, and then click Modify.
4. In the value data box, type the location of the Msiexec.exe file followed by the value of /V, and then click OK.
For Example:
C:\WINDOWS\System32\msiexec.exe /V
5. Click OK to save the settings and close registry editor.
Step 3: After adding the location of Msiexec.exe file, you need to register it. Restart your PC and Open it in the Safe Mode. While restarting your PC, keep pressing f8 before windows screen appears. It will show you Windows Advanced Option menu. Use arrow key to select Safe Mode option and press Enter.
Step 4: Open Run dialog box and paste following command and press Enter.
Step 5: Restart your PC in normal mode and then install your software. Most probably you won’t get Error 1719 again.
Method 3: Re-install the Windows Installer
Step 1: Open CMD command prompt and execute following command.
cd %windir%\system32
Step 1: Type attrib -r -s -h dllcache, and then press Enter.
Step 2: Type ren msi.dll msi.old, and then press Enter.
Step 3: Type ren msiexec.exe msiexec.old, and then press Enter.
Step 4: Type ren msihnd.dll msihnd.old, and then press Enter.
Step 5: Type exit, and then press Enter.
Step 6: At the command prompt, type exit, and then press Enter.
Summary
Here, I have tried to explain all the possible ways to fix windows installer error 1719. This website doesn’t take any responsibility if you execute wrong command. Better to use Advanced System Repair Tool Automatic Tool to fix this error.