The error code 0x8007371C often occurs at the time of installing updates on Windows 11/10 machine. Sometimes this error shows a readable text message as:
ERROR_SMI_PRIMITIVE_INSTALLER_FAILED

SMI primitive installer failed during installation or service
Installing Windows updates is a crucial task that enhances security, scalability, and stability while introducing new features to the operating system. However, encountering errors that prevent the installation of updates can be frustrating. If you are unable to install the latest updates due to such an error, try the solutions provided below.
How to Fix Windows Update Installation Error 0x8007371C
There are several ways to fix update installation error 0x8007371C which is mentioned below:
Solution 1: Fix using the PC Repair Tool
Many times, it has been observed that the Windows update failed issue occurs due to corrupted or missing system files, bad registry entries, outdated drivers, problems in the Windows update folder, or the presence of malware or trojans on your PC. It is advisable to use a reliable PC optimizer tool to maintain the good health of your Windows operating system.
dll files, exe files, sys files, various types of services, databases, etc so, it is not possible to keep monitoring all the files always. A brilliant PC Optimizer tool repairs damages, fix errors, update windows and drivers, and eliminate various types of errors silently. Outbyte PC Repair Tool does all the above task easily and provides you an errorfree and smooth Windows environment to work so that you can focus on your business only.
Step 2. SCAN your Windows PC
Step 3. Click Fix button to Repair Error
Solution 2: Reset Software Distribution Folder
A software distribution folder refers to a directory or folder that contains files and resources necessary for distributing software applications or updates to users or clients. The SoftwareDistribution folder in Windows can get corrupted due to Virus/Malware attack, Disk errors, software conflicts, and more other reasons.
To fix the corruption inside the SoftwareDistribution folder, it is important to reset it as follows:
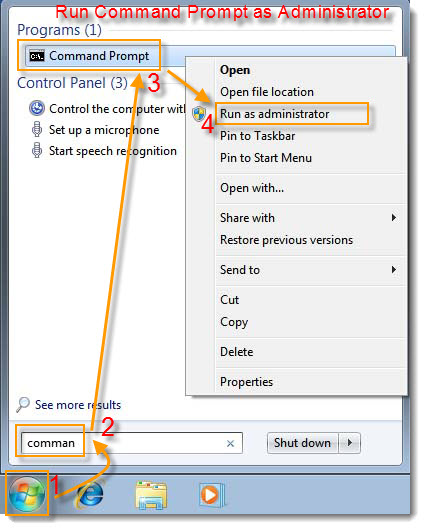
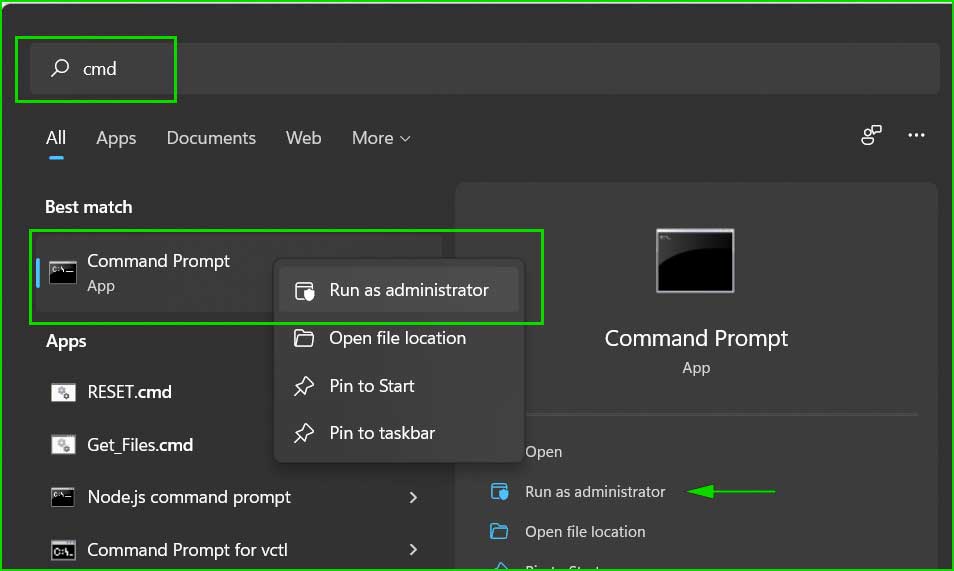
Step 1: Open Command Prompt as Administrator
Step 2: Type and execute following commands one by one.
net stop wuauserv

net stop cryptSvc

net stop bits

net stop msiserver

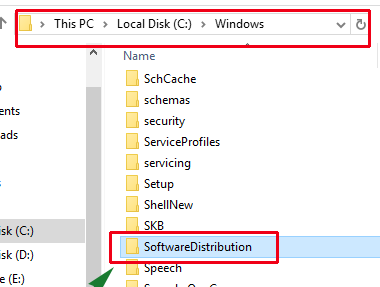
Step 3 : Go to the (C) Drive → Windows
net start wuauserv

net start cryptSvc

net start bits

net start msiserver
This process can help resolve issues related to Windows Update, such as failed updates or update download problems. After resetting the folder, Windows will recreate the necessary files and folders in the Software Distribution directory, and you should be able to use Windows Update normally.
Solution 3: Run SFC, CHKDSK, and DISM command.
SFC (System File Checker), DISM (Deployment Image Servicing and Management), and CHKDSK (Check Disk) are all built-in Windows utilities that can help repair issues related to the file system. Each tool serves a specific purpose in diagnosing and fixing file system problems.
sfc /scannow
Dism /Online /Cleanup-Image /CheckHealth

Dism /Online /Cleanup-Image /ScanHealth

Dism /Online /Cleanup-Image /RestoreHealth
chkdsk C: /f /x /r
It will give you following message:
Chkdsk cannot run because the volume is in use by another

process. Would you like to schedule this volume to be

checked the next time the system restarts? (Y/N)Solution 4: Run Windows update troubleshooter.
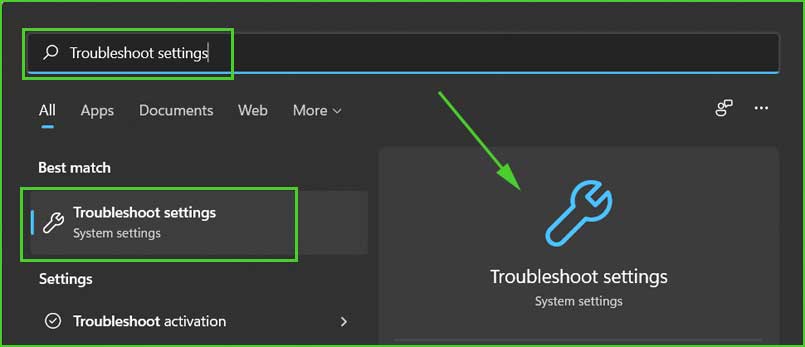
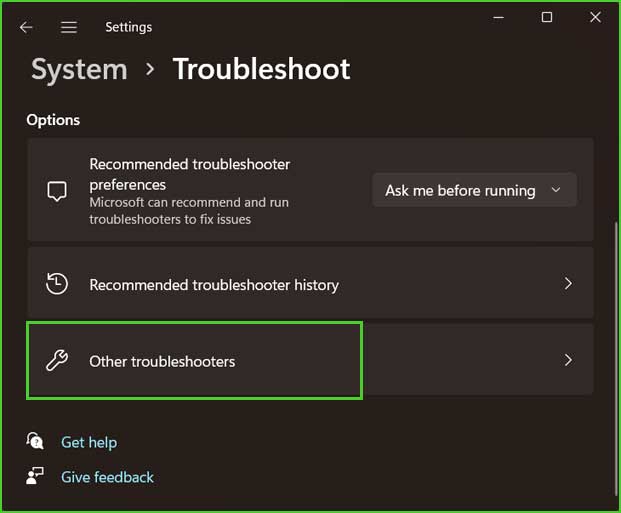
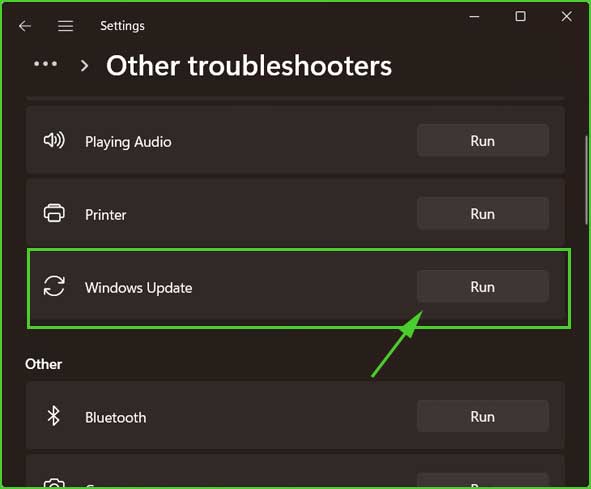
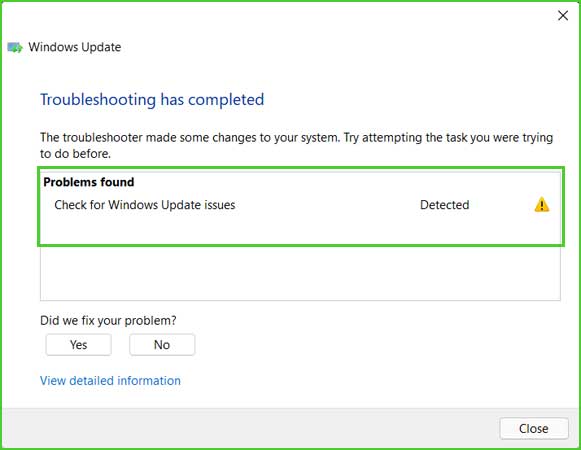
Allow the troubleshooter to scan for issues and apply the recommended fixes. Once the troubleshooter completes its process, restart your computer, and try updating Windows again.
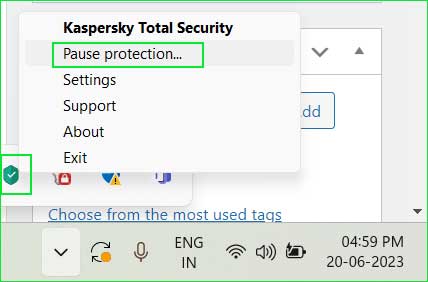
Solution 5: Disable 3rd Party Antivirus program.
Sometimes, conflicts with third-party software, such as antivirus programs or firewalls, can interfere with the Windows Update process. Security software may block or disrupt the installation of updates, leading to the error code.
Summary
To fix Windows 10/11 update error 0x8007371C, you can reset windows update components, run troubleshooter, repair corrupted system files, check disk error. Etc.